Are you looking to create a donation form on WordPress? The best option is WP Formify, and in this guide, we’ll show you how to do it.
Every small enterprise, non-profit organization, or volunteer service provider requires donations to achieve their mission. Obviously, nothing is free, and no one can solely manage everything, so creating a donation form could be an effective way to ensure that the organization’s operations run smoothly.
The problem is that WordPress doesn’t offer any payment option for websites, and paying a high transaction fee every time you collect a donation could be detrimental to your business.
But the good news is that by using WP Formify, you can easily create a donation form to create donations on your WordPress website.
In this article, we’ll show you the step-by-step process of how to make a donation form on WordPress in 5 easy steps, and before we dive into the nitty gritty, let’s look at some of the benefits of using a donation form on your WordPress site.
So, without further ado, let’s get started.
Benefits of Having a Donation Form on Your Website

Following are some of the key benefits you can get from having a donation form on your website.
1. Convenient and Secure Payment Processing
A donation form makes it easier for donors to contribute to your cause by providing a secure and convenient payment processing system that is integrated into your website. This simplifies the process for your donors and increases the likelihood of them completing the donation.
2. Better User Experience
A well-designed donation form can significantly enhance the user experience for your donors. It can create a more professional and trustworthy impression of your organization, making it more likely that visitors will choose to donate to your cause.
3. Increased Donations:
With a clear and well-designed donation form, you can boost the number of donations you receive. By making the process more accessible and user-friendly, you can encourage more people to contribute to your cause, thereby increasing the overall donation amount.
4. Greater Control and Flexibility
A donation form gives you more control over the donation process, allowing you to set specific campaign parameters, such as suggested donation amounts, donation levels, and custom fields. You can modify the form to include specific donation appeals or target particular donor segments.
5. Cost Savings
It can save you money on transaction fees charged by third-party payment processors. A customized donation form can also reduce the costs associated with manual donation processing and data entry, freeing up resources for other critical activities.
6. Easily Collect Additional Useful Details About The Donor
By using a donation form, you can collect additional information about the donor, and you can use this data to identify trends and patterns in donation behavior, allowing you to make informed decisions on how to improve your fundraising strategy.
How to Set Up a Donation Form on Your WordPress Website [5 Easy Steps]
To set up a donation form on your WordPress website, simply follow the below five steps:
Step#1: Install and Activate WP Formify
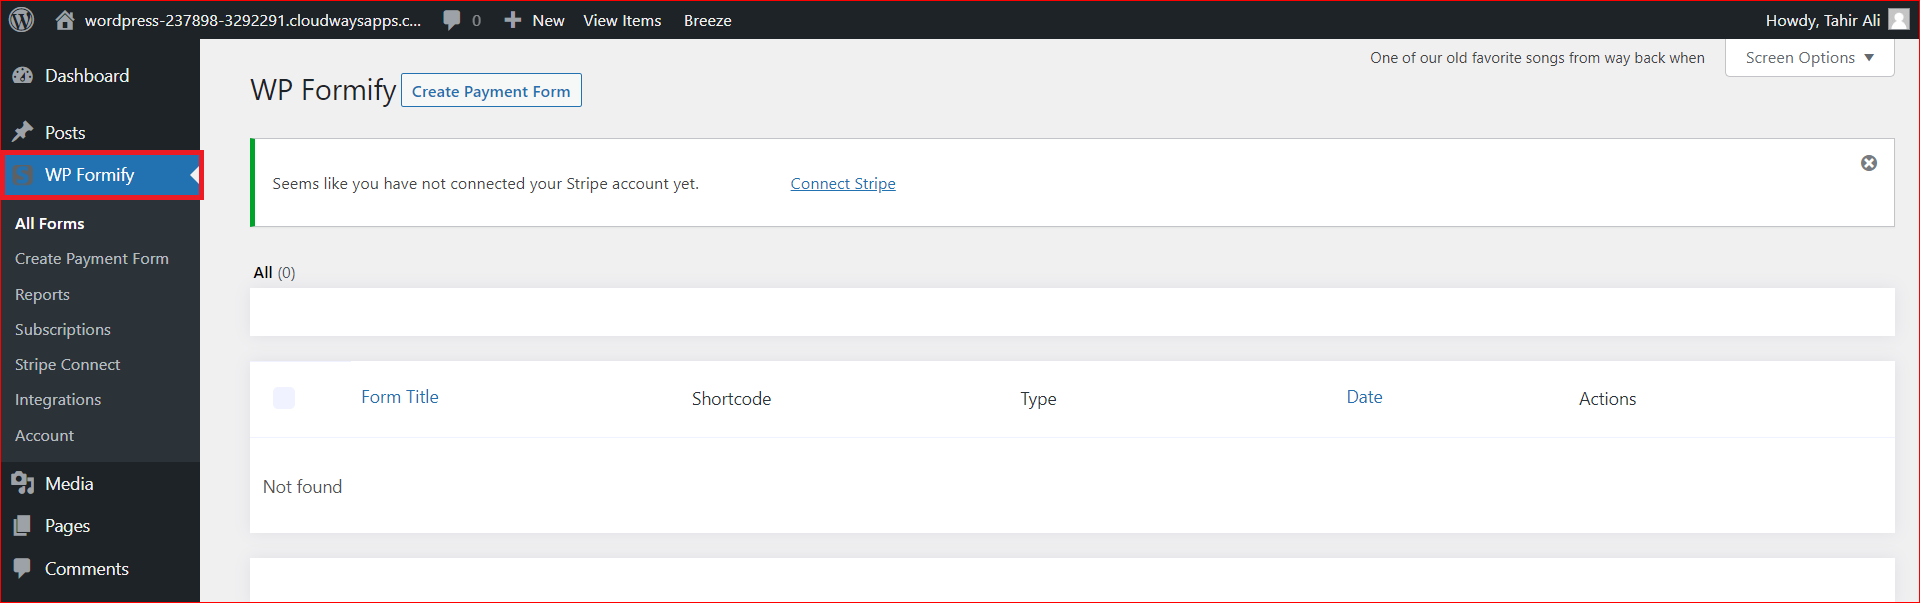
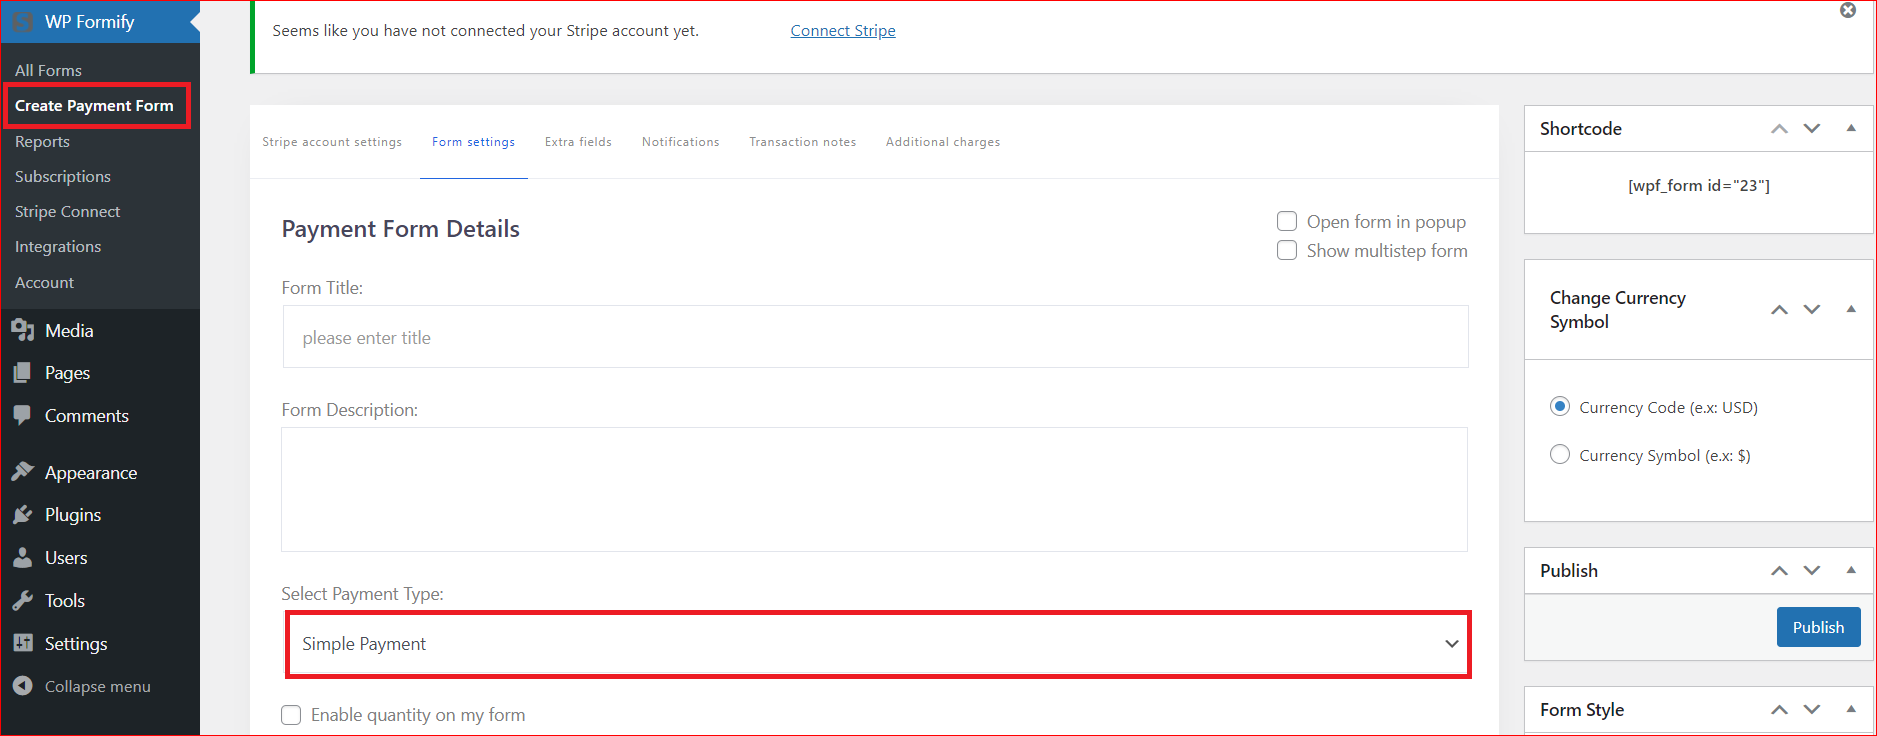
To begin, the first step is to install and activate the WP Formify plugin. Click here to get the step-by-step process guide for this. After activating the plugin, you will see “WP Formify” on the left-hand side of your WordPress dashboard, as shown in the image below:
Step#2: Connect Your Stripe Account
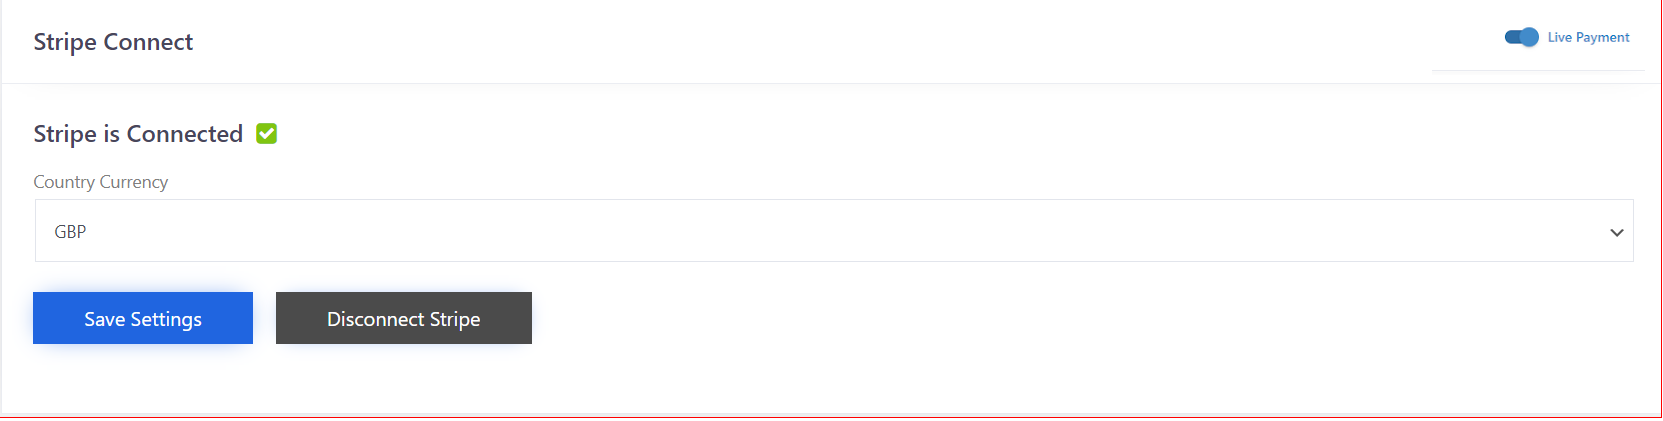
To connect your stripe account, click “Square Connect” under “Wp Formify.” Then turn on the Toggle on the top right to make it Live and click the blue “Connect Stripe” button.
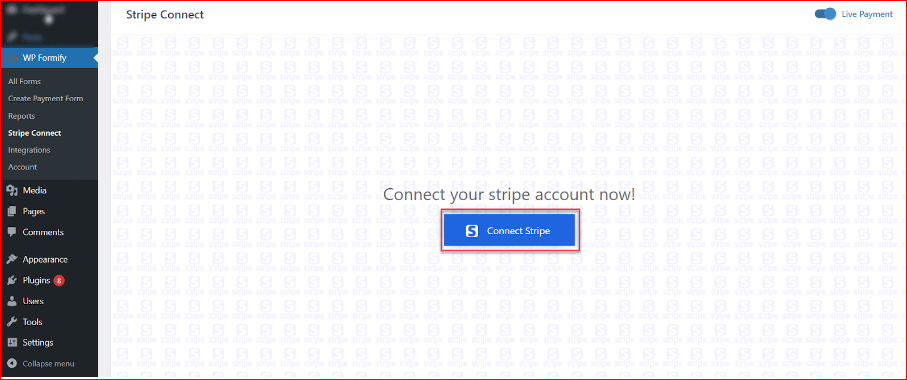
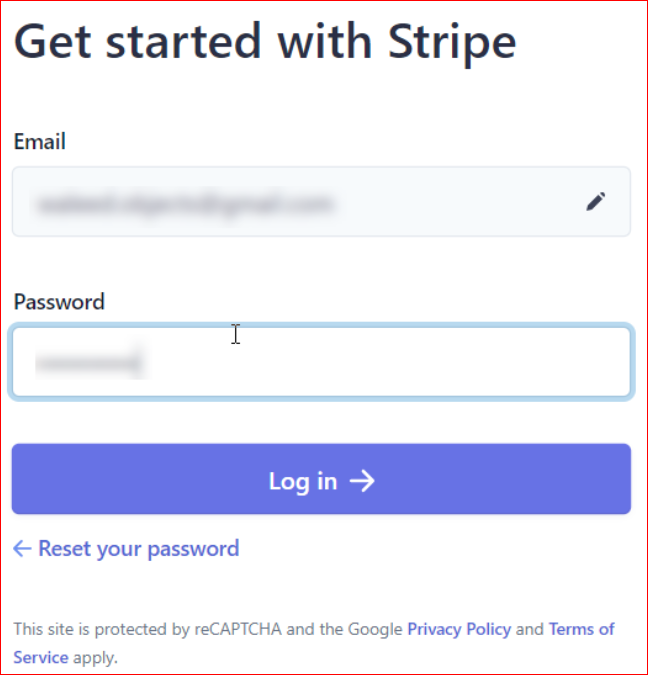
After clicking on the “Connect Stripe” button, you’ll be redirected to the Stripe website, where you’ll need to enter your Stripe account login Credentials.
Once you log in, you will be directed back to the plugin page. Where you’ll select “Currency” and click on “Save Settings.”
Step#3: Select Your Donation Form Type
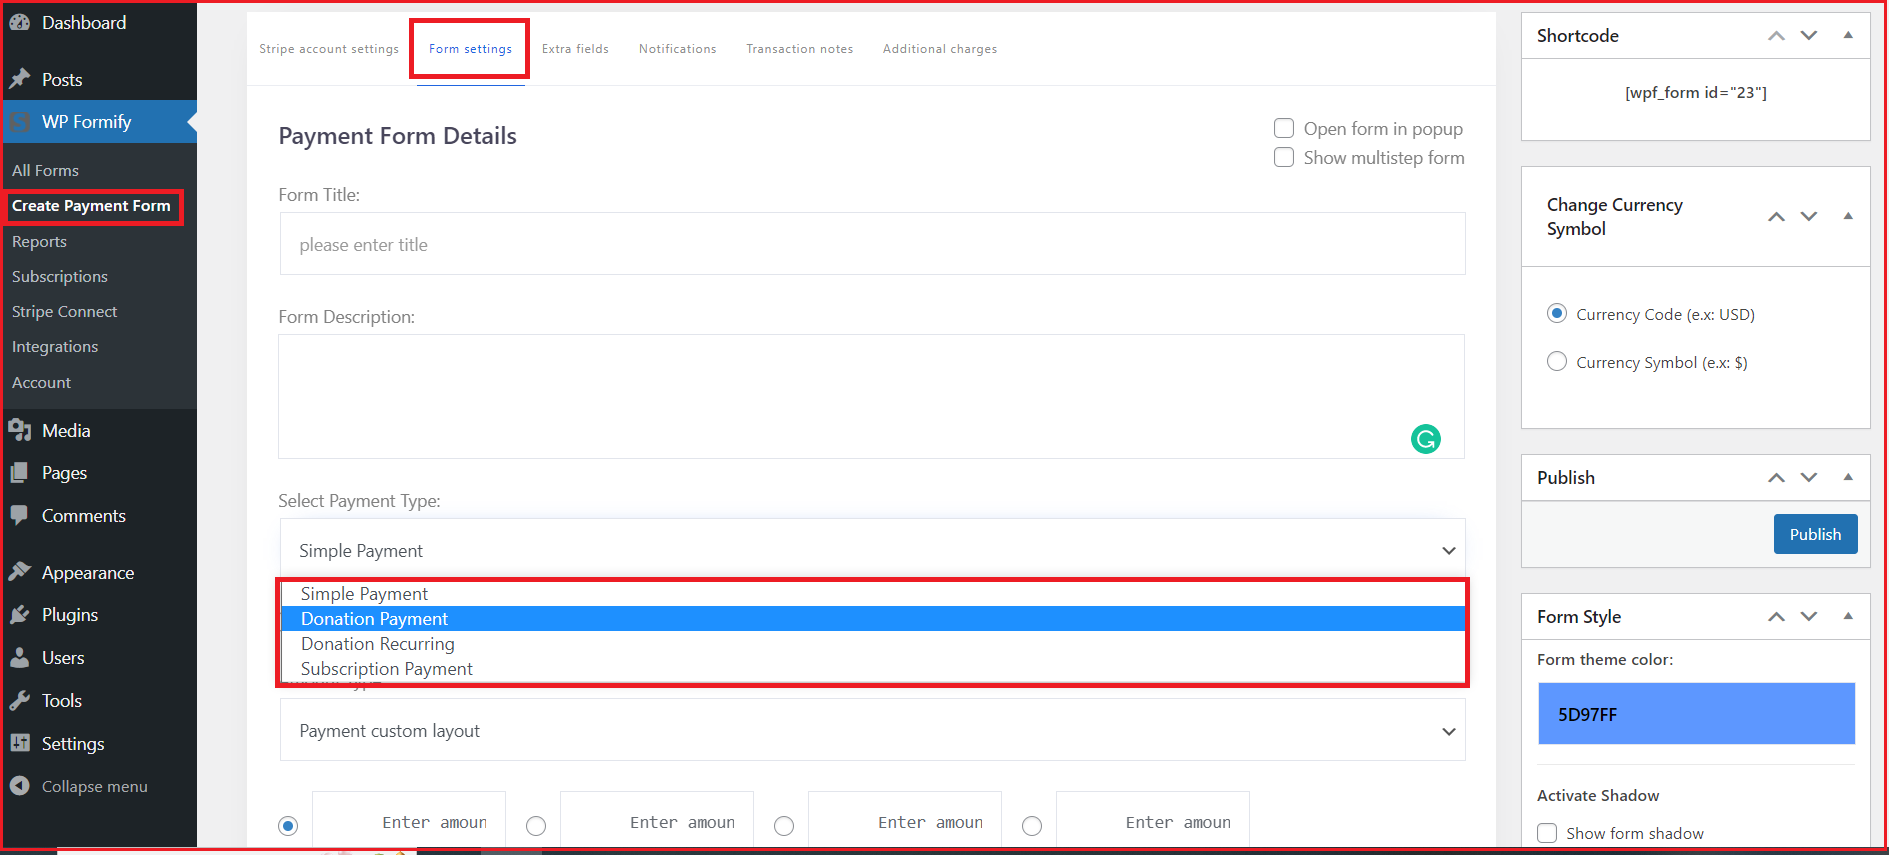
Once you connect the stripe account, then it’s time to select the type of your donation form. We offer two types of the donation form such as:
- Donation payment
- Donation Recurring
To select the form type, follow the steps below:
- Go to Wp Formify → Create Payment Form → Form Settings (tab)
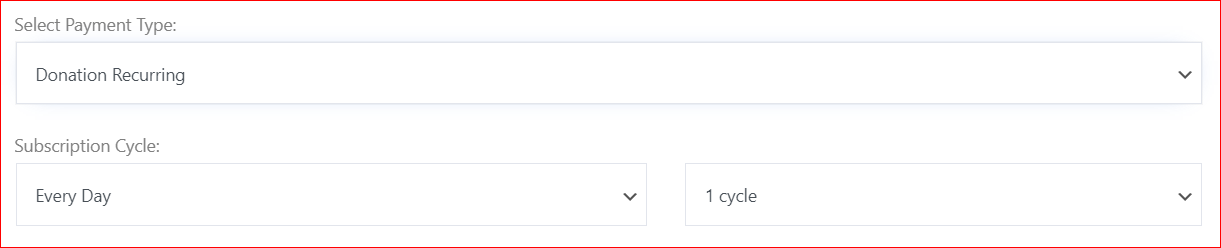
- From the “Select Payment Type” dropdown menu, you can select “Donation payment” or “Donation Recurring.”
Step#4: Customize Your Donation Form
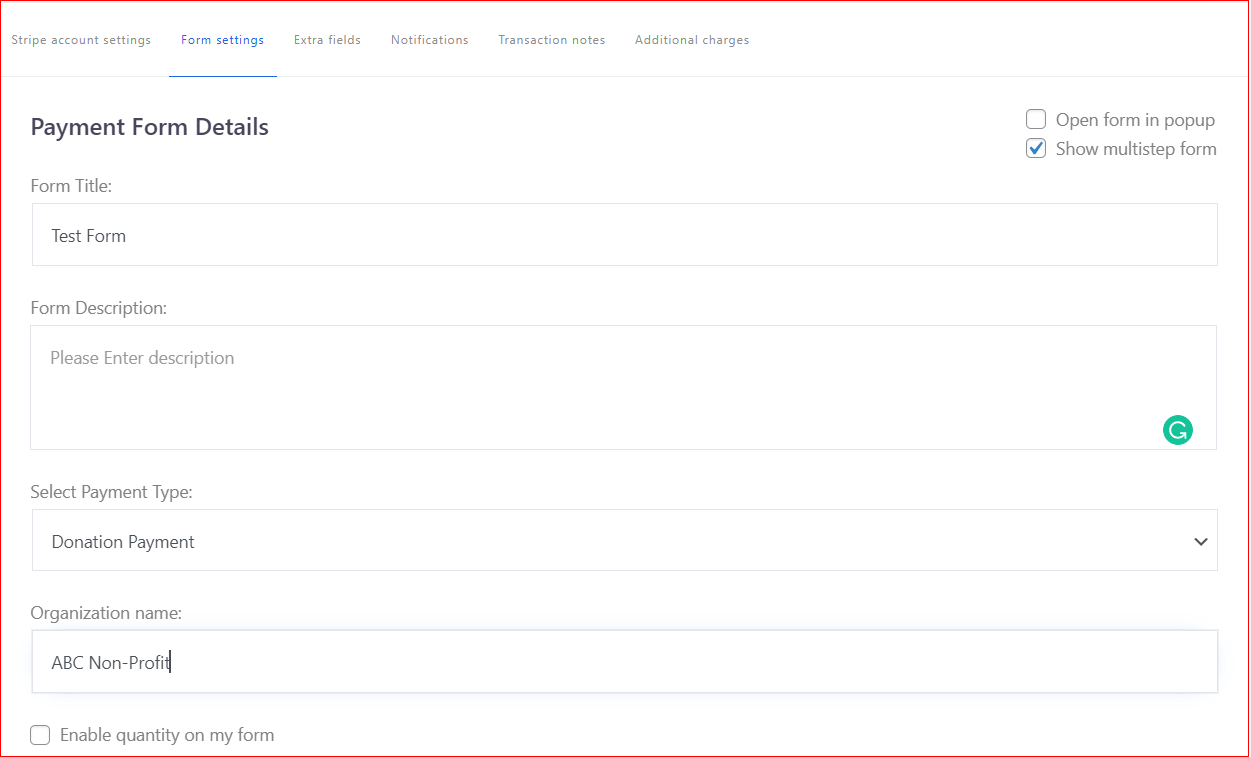
Once you’ve selected the form type, you can change form settings accordingly:
Form Title: It can be the name of your fundraising campaign or any other name that you choose
Form Description: A brief overview of the campaign (Purpose of the campaign, what it’s all about)
Organization Name: Name of your nonprofit/company
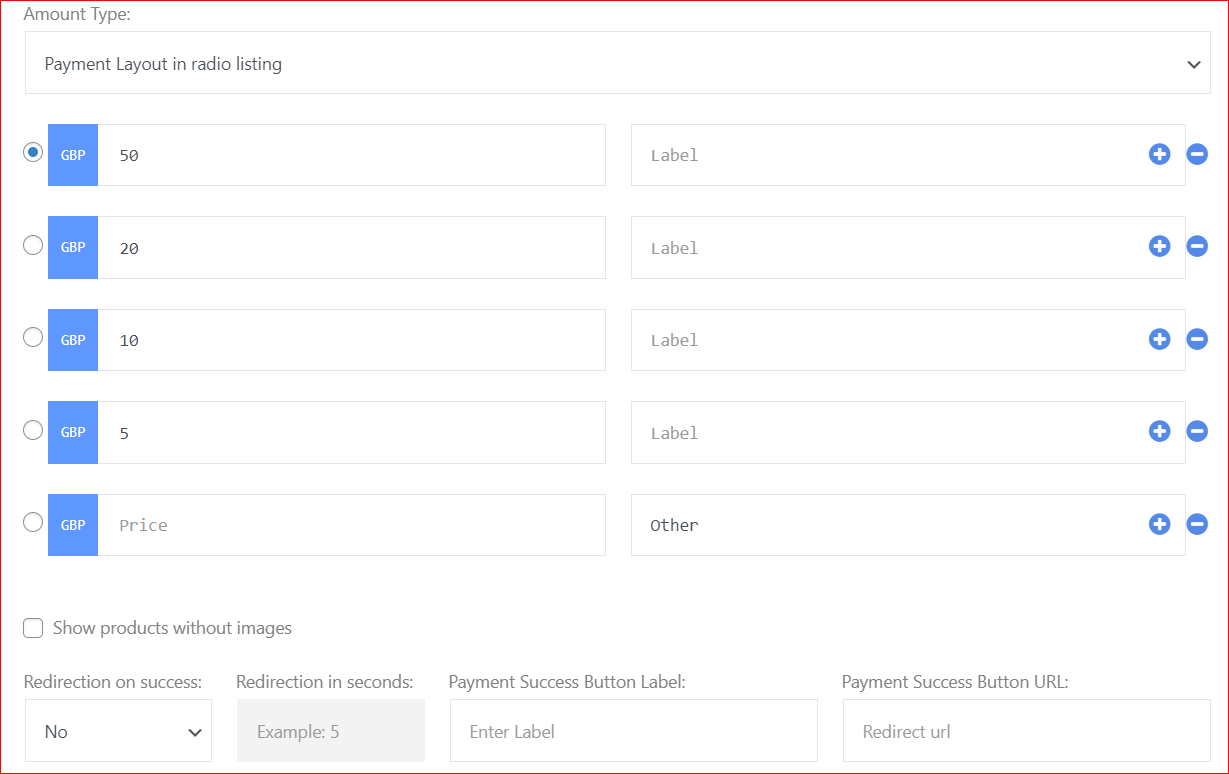
Amount Type: From the dropdown, you can select how you want to present the donation amounts (i.e., Radio listing, dropdown, custom layout, tabular layout)
Redirection on success: By selecting “Yes,” then after successful payment, the donor will redirect to the predefined URL after a predetermined period of time in the “Redirection in seconds” box.
Subscription Cycle: When you choose the “Donation Recurring” form, then you can set the “Subscription Cycle” to “Every Day, Week, Month, or Year” along with the number of cycles up to 12 Cycles.
Terms and Conditions: If you want to display the terms and condition link, select the checkbox and provide the URL of your terms and condition page.

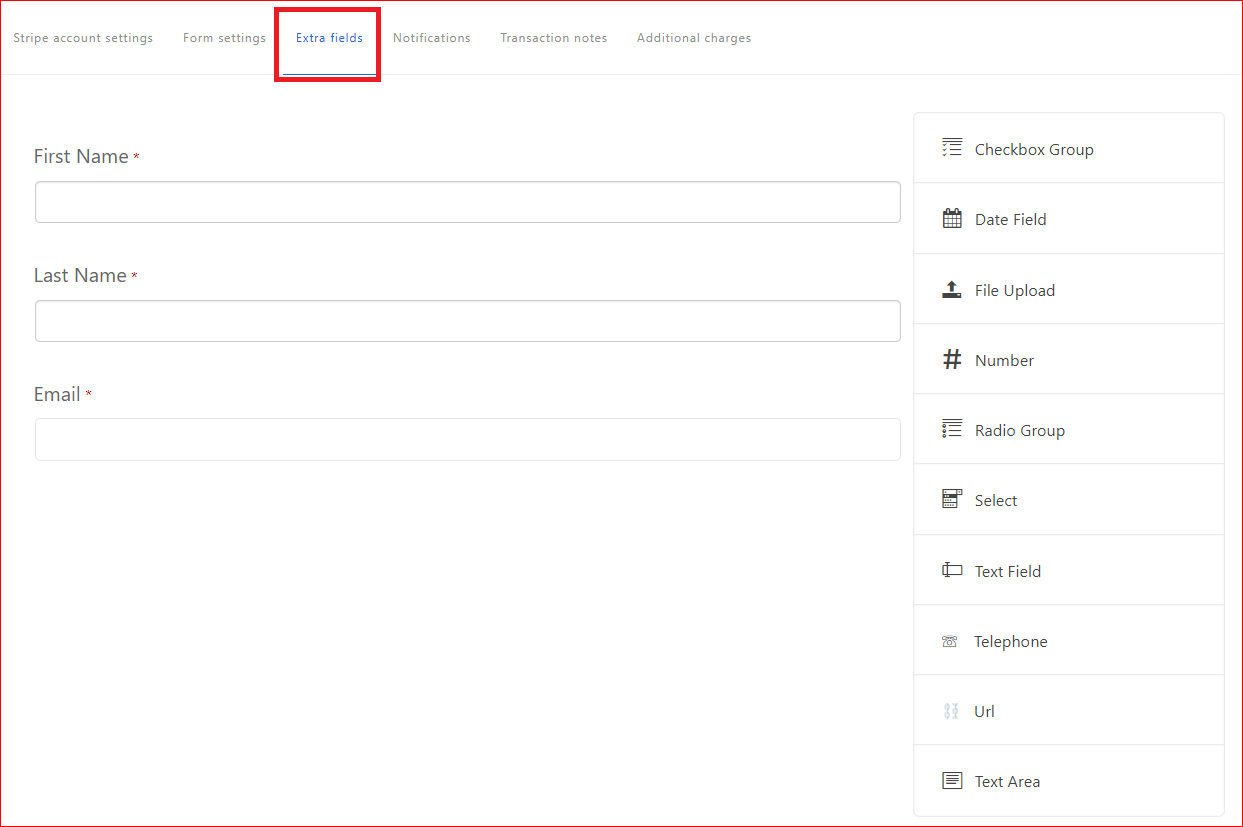
Extra Fields: In this section, you can add any field to collect information about the donor, i.e., First Name, Last Name, Email, Phone Number, Feedback Comments, File Upload, etc.
Simply select your desired option from the right-hand side menu and edit it to your liking.
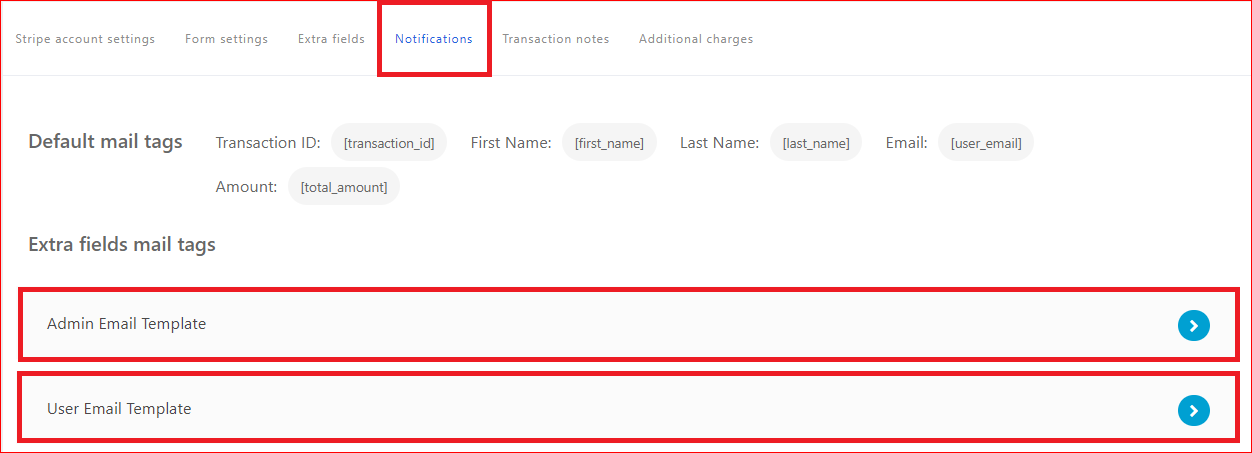
Notifications: In this section, you can set the default email notification templates on every successful donation for both “Admin” and “User.”
Also, you can use “Default mail tags” so every email will be customized to the recipient.
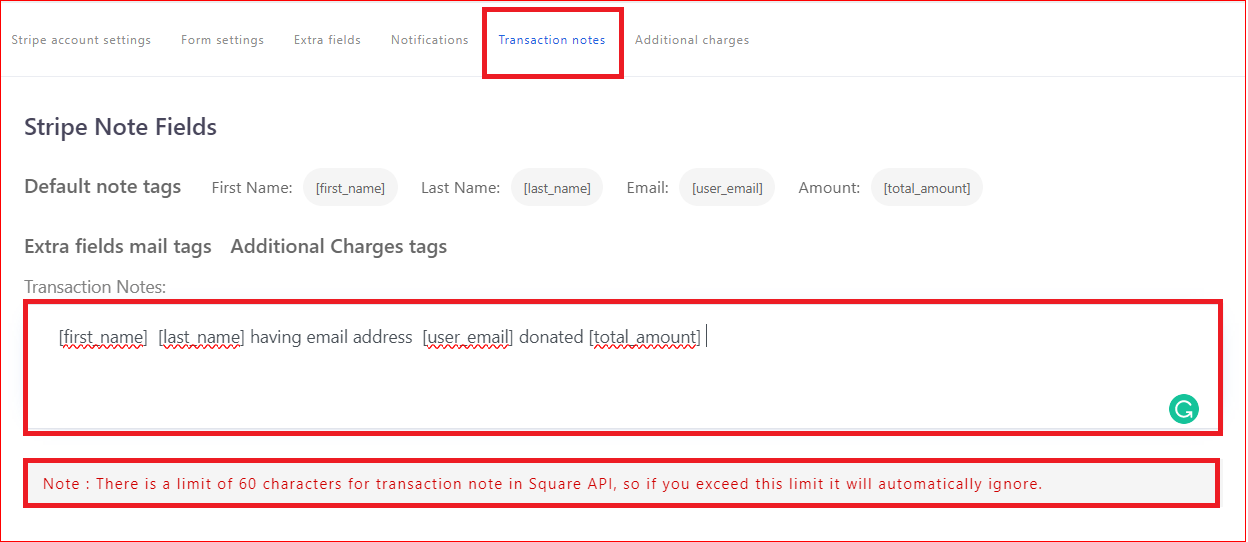
Transactions Notes: In the transaction notes box, you can set the description (max 60 characters long) that will appear on the stripe account statement of the donor.
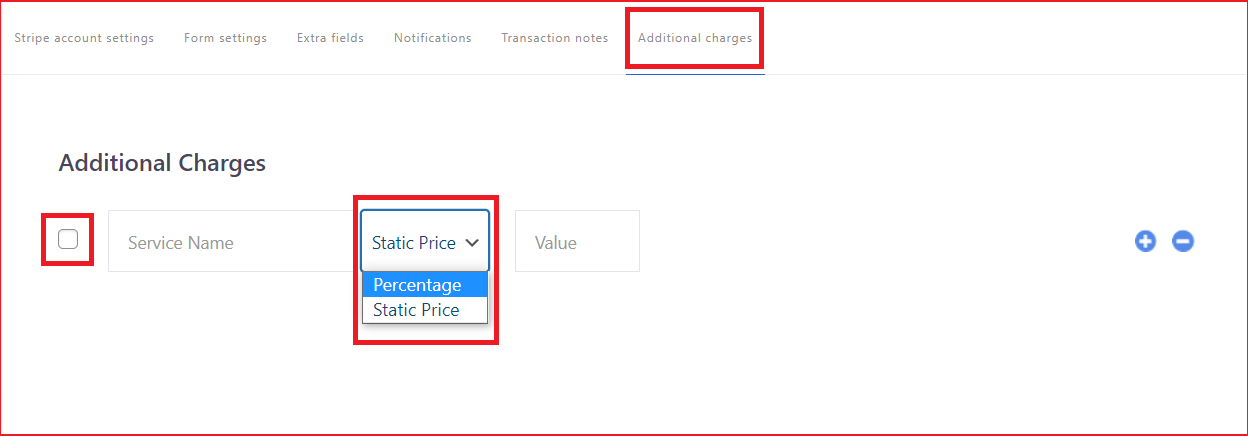
Additional Charges: If you want to charge any additional charges, such as transaction charges, you can select “Static Price” or a “Percentage” of the donation amount. Also, don’t forget to mark the checkbox next to the “Service Name” field.
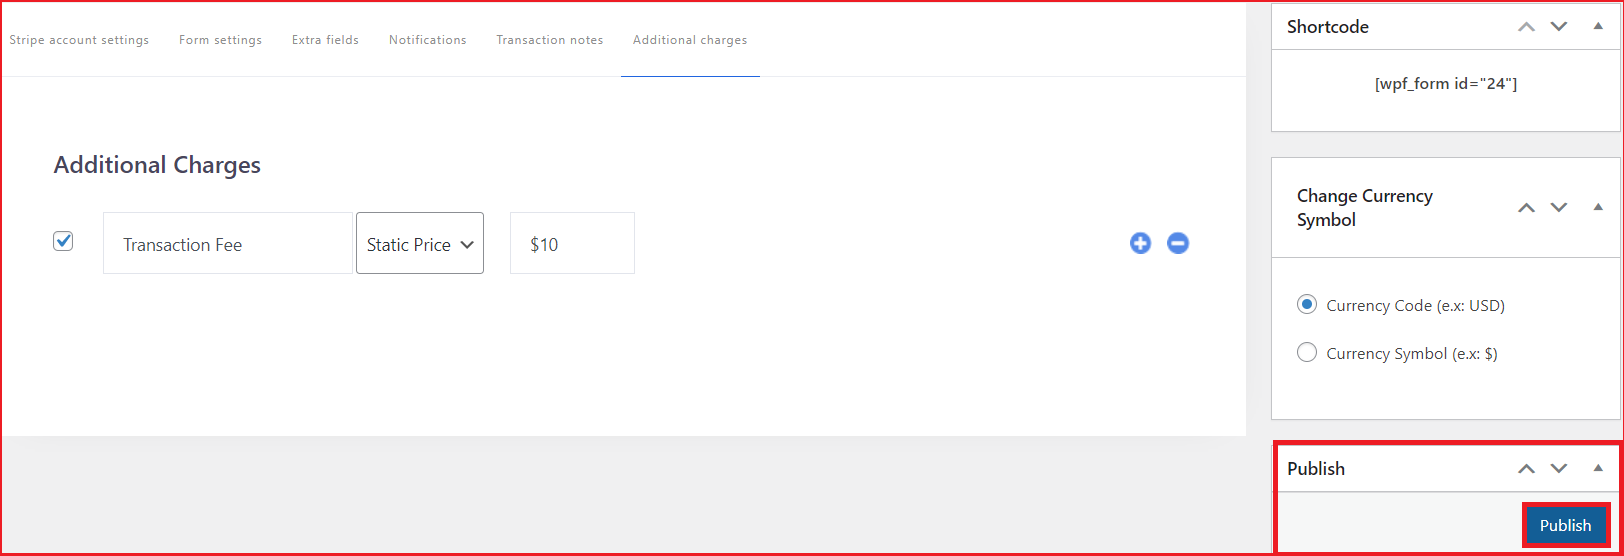
Publish: Once you’ve defined the additional charges, simply hit the “Publish” button from the right-hand side of the screen.
Step#5: Display It and Start Collecting Donations
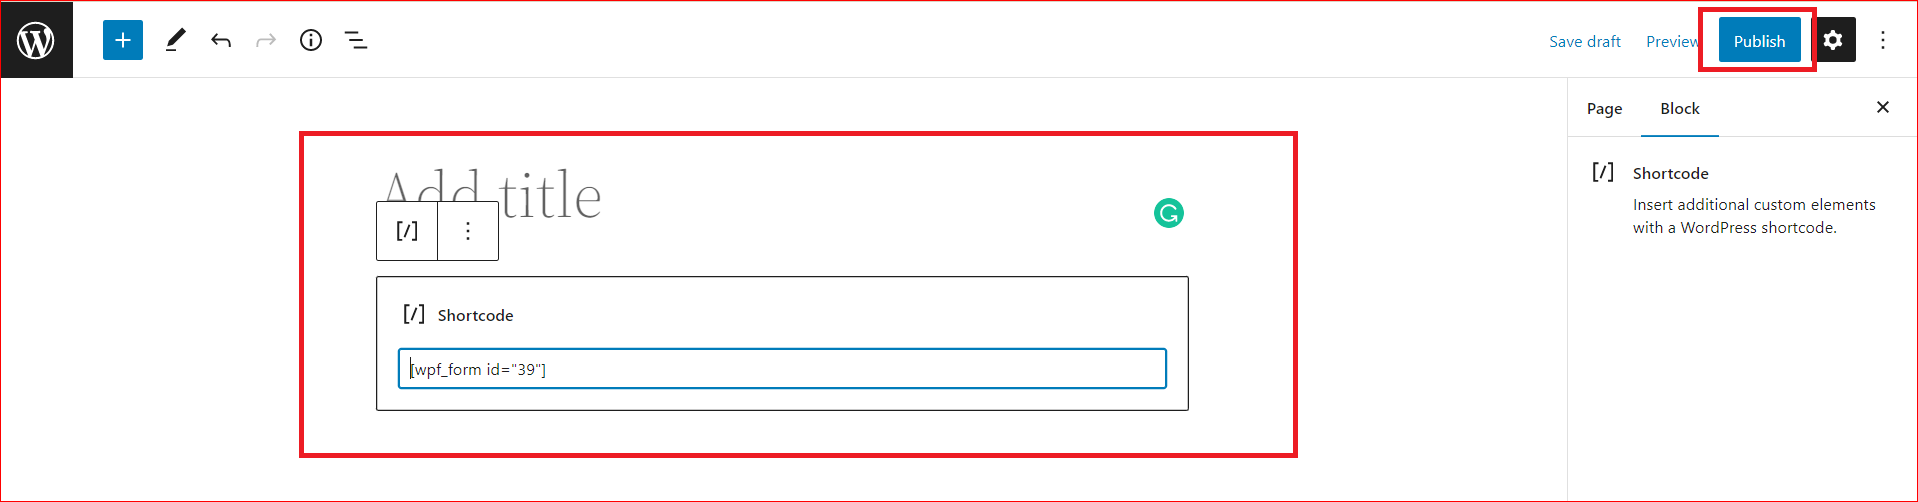
After publishing the donation form, go to Wp Formify → All Froms and copy the “Shortcode” as shown in the screenshot below.

After that, navigate to Pages → Add New and paste the copied shortcode, and hit the “Publish” button on the top right corner of the screen.
Once published, your donation form should look something like this:
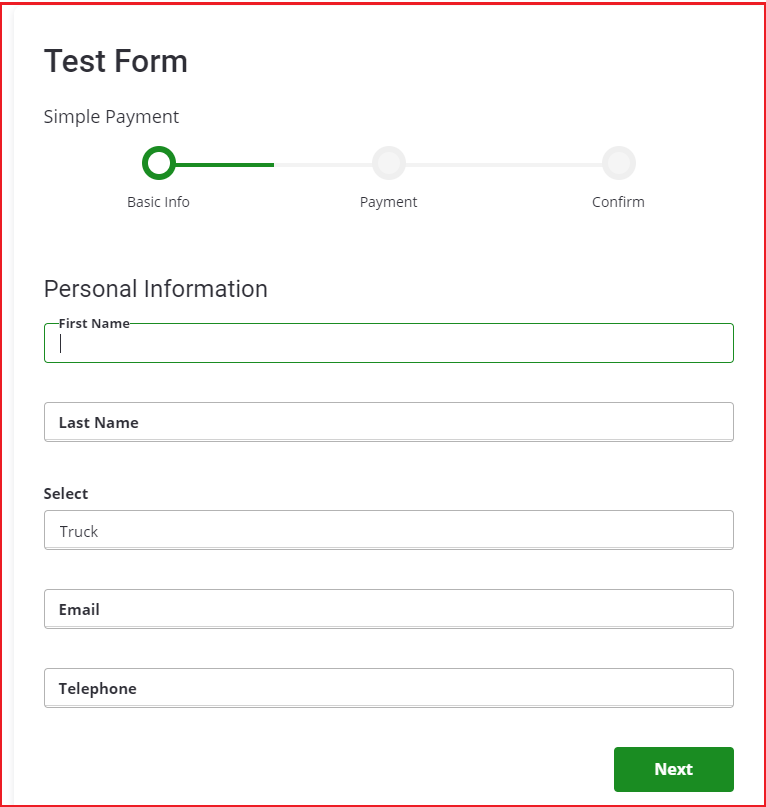
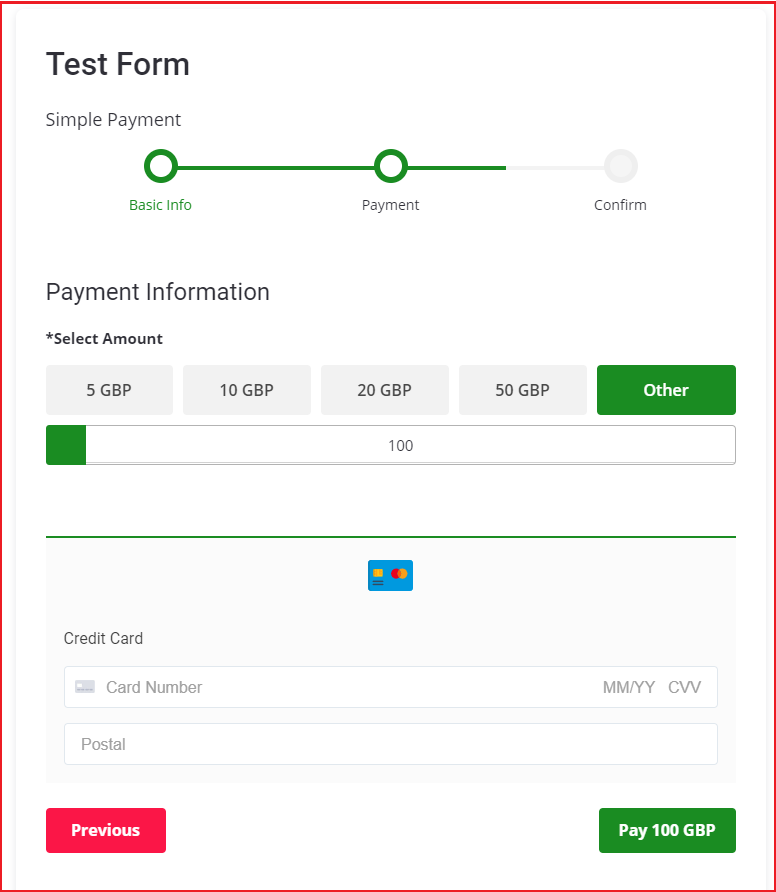
After filling in the basic info, the donor must provide payment details.
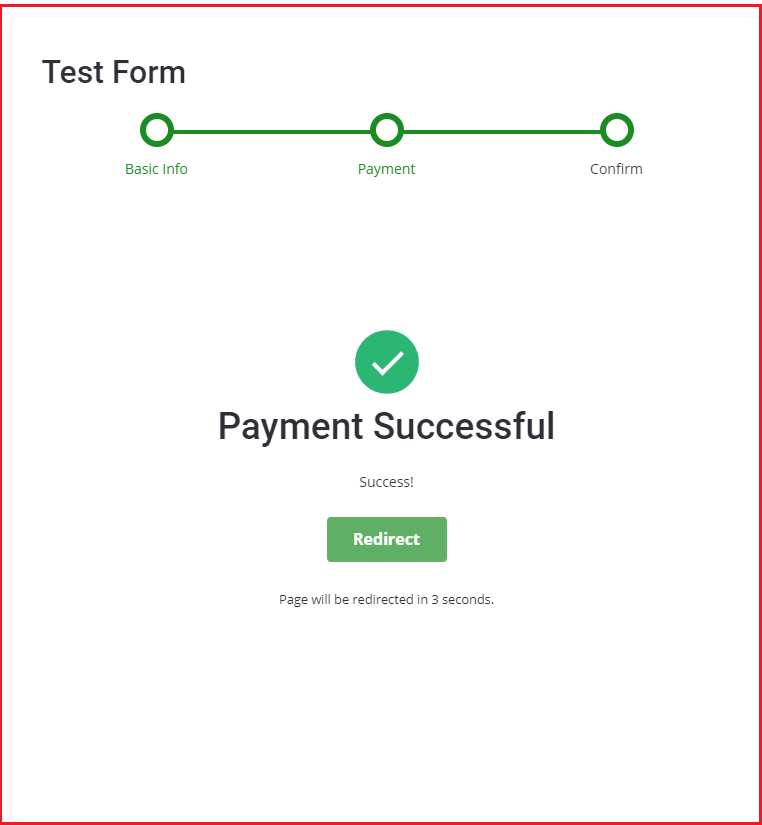
Once the donation has been made, the donor will see the following page.
That’s all you need! We hope you found the above process helpful in making a donation form for your WordPress website.
Frequently Asked Questions
How do I add a donation box in WordPress?
To add a donation box in WordPress, you can use a plugin like WP Formify. Install and activate the plugin, create a donation form, customize it, and publish it on your website using a shortcode.
What is the best donation plugin for WordPress?
WP Formify is one of the best donation plugins for WordPress. It offers secure payment processing and customization options, making it easy to keep track of your donations.
How do I set up a donation page on my website?
To set up a donation page on your website, you can use a plugin like WP Formify. When you create a donation form, it gives you a shortcode that you can add to your website page to set up a donation page easily.
How do I create a website that accepts donations?
To create a website that accepts donations, you need to choose a platform that offers payment processing capabilities, such as WordPress. Install a donation plugin, e.g., WP Formify, create a donation form, customize it to your liking, and publish it on your website.
Can I accept donations without being a nonprofit?
Yes, you can accept donations without being a nonprofit. All you need is to set up a donation page on your website using WP Formify plugin and use the donations for your business expenses. However, if you are not a nonprofit, then you might need to pay taxes on the donations received.
Wrapping Up
Whether you need to make a donation form on your WordPress website or the Stripe donation button, WP Formify is an excellent donation plugin for WordPress that offers convenient and secure payment processing, better user experience, increased donations, and customization options, making it easy to track and report donations with ease.
So, if you’re unsure how to accept donations on your WordPress site, simply follow the five steps outlined in this guide. By following these steps, you can create a donation form on your WordPress website and start accepting donations to support your cause.
Lastly, if you have any questions or concerns regarding the donation form, feel free to leave them in the comment section below, and we’ll be happy to assist you.